

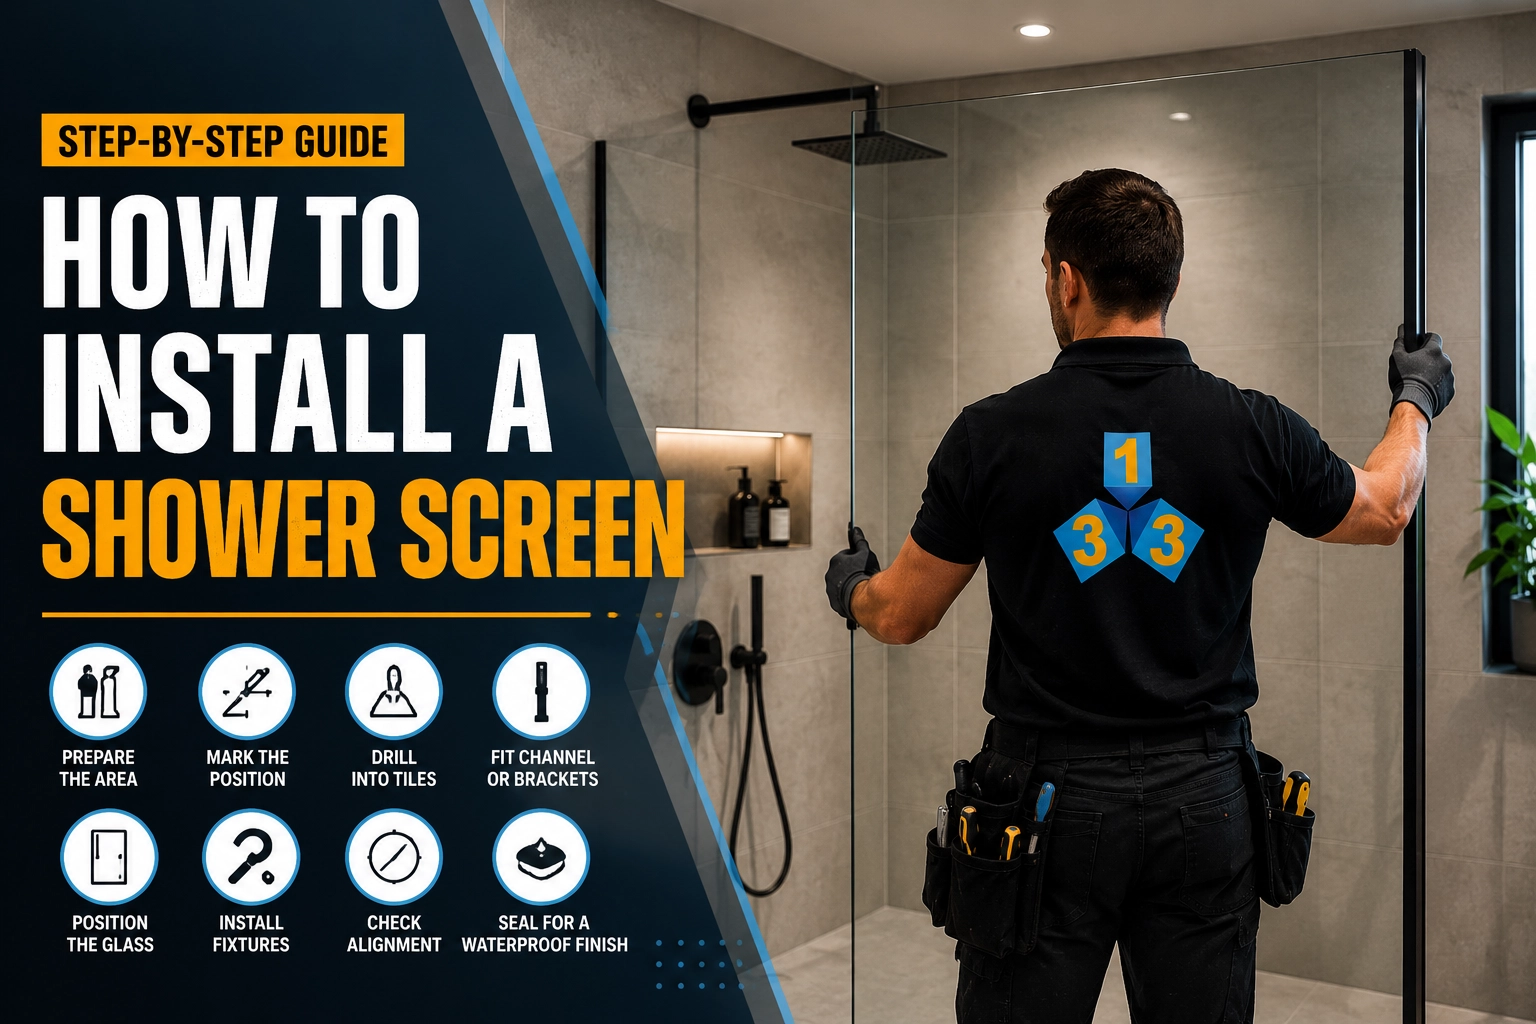
In this guide 313 glass, we will walk through the practical steps of how to install a shower screen at home. You will learn what tools you need–how to measure your space–how to prepare tiles and waterproof bathroom walls, how to fit a shower screen safely, and how to avoid common installation mistakes.
We will also explain when DIY is realistic and when it is better to call a licensed tradie, especially if you are installing a heavy frameless glass shower panel, working in a rental property, or dealing with tricky bathroom layouts.
| Step | What You Need to Check | Why It Matters |
|---|---|---|
| Measure the space | Width, height, wall level, floor fall | Prevents poor fit, gaps, and leaks |
| Check wall surface | Tiles, waterproof board, studs, existing holes | Helps you drill safely and fix the screen securely |
| Seal correctly | Silicone type, curing time, gap control | Prevents water leaks and mould issues |
What You Need Before You Start
Before learning how to install a shower screen, prepare all tools and materials. This makes the job smoother and reduces the risk of rushing or making mistakes halfway through.
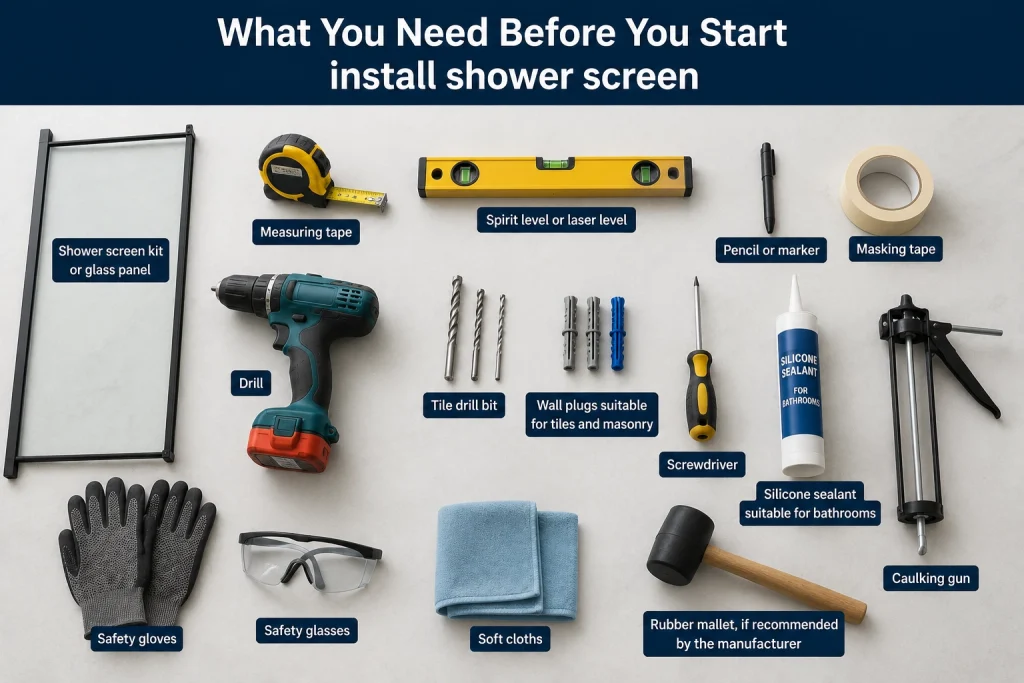
You will usually need:
- Shower screen kit or glass panel
- Measuring tape
- Spirit level or laser level
- Pencil or marker
- Masking tape
- Drill
- Tile drill bit
- Wall plugs suitable for tiles and masonry
- Screwdriver
- Silicone sealant suitable for bathrooms
- Caulking gun
- Safety gloves
- Safety glasses
- Soft cloths
- Rubber mallet, if recommended by the manufacturer
For heavier glass panels, you should also have a second person helping. Do not try to lift or position large glass by yourself. Shower glass can be awkward to hold, and even toughened safety glass can break if knocked on a hard edge.
Preparing the Bathroom Surface
Before installing anything, the surface must be clean, dry, and stable. Remove dust, old silicone, soap residue, loose grout, or debris from the area where the screen will sit.
If you are replacing an old shower screen, carefully remove the previous frame and scrape away old silicone. Do not damage waterproofing membranes under tiles or around wall edges. If you notice cracked tiles, loose grout, swollen skirting, or soft walls, stop and investigate before installing the new screen.
Installing a new screen over damaged surfaces can trap moisture and make future leaks worse. The screen is only one part of the wet area system. Tiles, grout, waterproofing, drainage, and silicone all work together.
How to Install a Shower Screen Step by Step
The exact process may vary depending on your product, so always follow the manufacturer’s instructions. However, most installations follow a similar sequence.
Step 1: Read the Instructions and Check All Parts
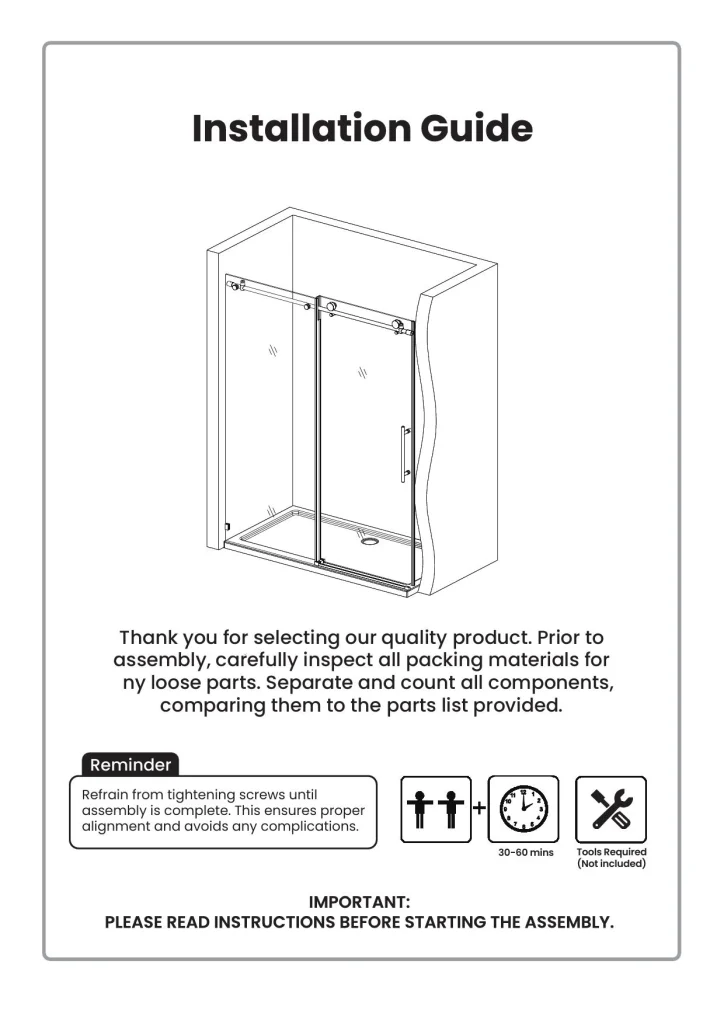
Open the shower screen kit and check that all parts are included. Look for brackets, screws, wall channels, seals, hinges, handles, and any rubber gaskets.
Do not start drilling until you understand where every part goes. If a bracket is installed upside down or a channel is placed incorrectly, it can affect the whole installation.
Step 2: Mark the Position
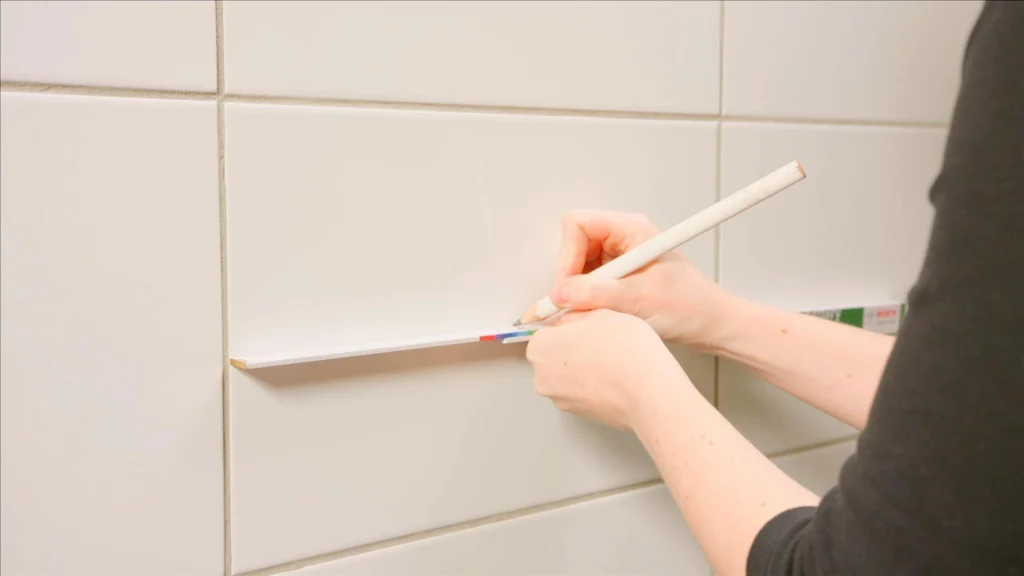
Place the wall channel or bracket against the wall in the correct position. Use a spirit level to make sure it is straight. Mark the drill holes with a pencil or marker.
Use masking tape over the tile where you plan to drill. This helps reduce slipping and gives you a clearer mark. Take your time here because the accuracy of these marks affects the final fit.
Step 3: Drill Into the Tiles Carefully
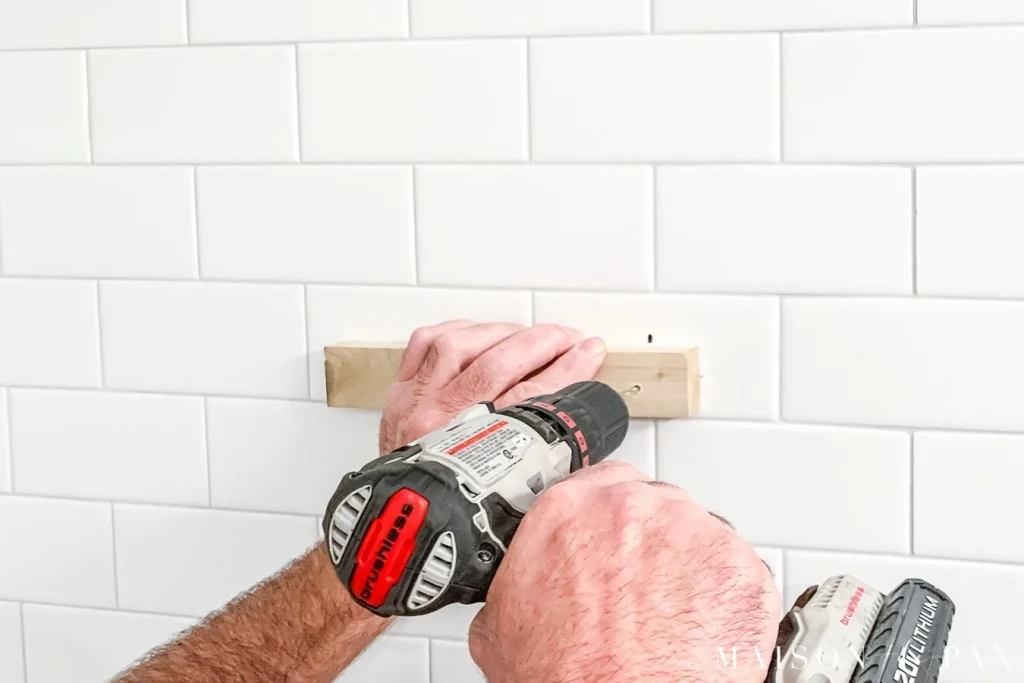
Drilling into tiles is one of the most stressful parts for beginners. Use the correct tile drill bit and start slowly. Do not use hammer mode at the beginning because it can crack the tile.
Once you get through the tile surface, you may be able to change drill settings depending on the wall material behind it. If you are unsure what is behind the tile, proceed carefully.
Insert suitable wall plugs after drilling. The fixings need to hold the screen securely, especially for glass panels.
Step 4: Fit the Wall Channel or Brackets
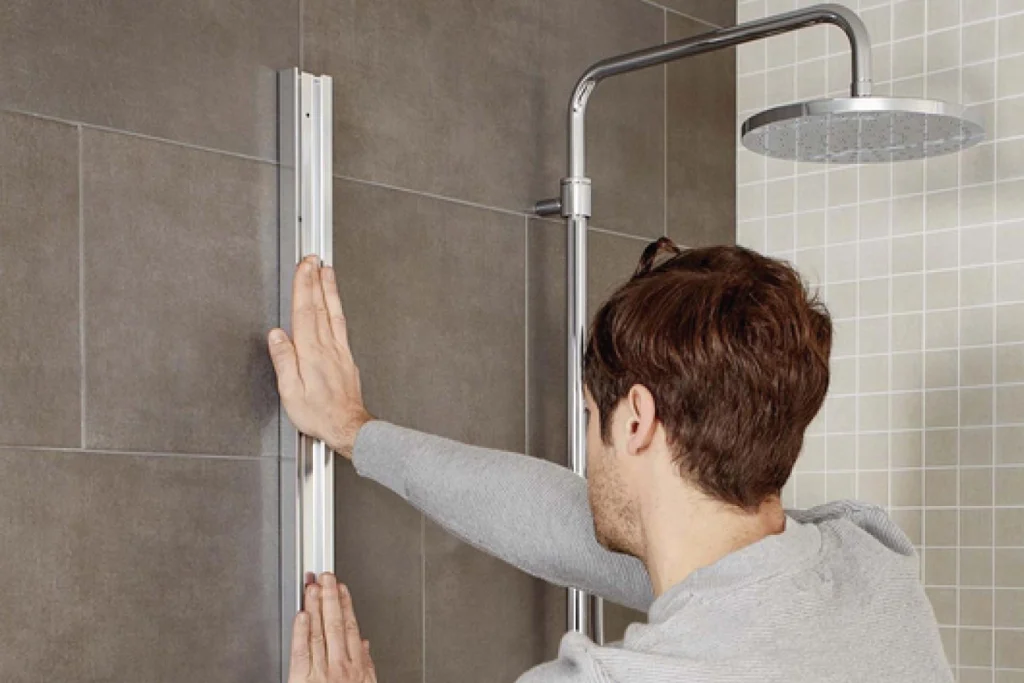
Attach the wall channel or brackets using the supplied screws. Keep checking with a level as you tighten. Do not overtighten screws, especially against tiles, because too much pressure can cause cracking.
If the screen uses a channel, make sure it is straight and firmly fixed. If it uses brackets, make sure each bracket is aligned properly before inserting the glass.
Step 5: Position the Glass Safely
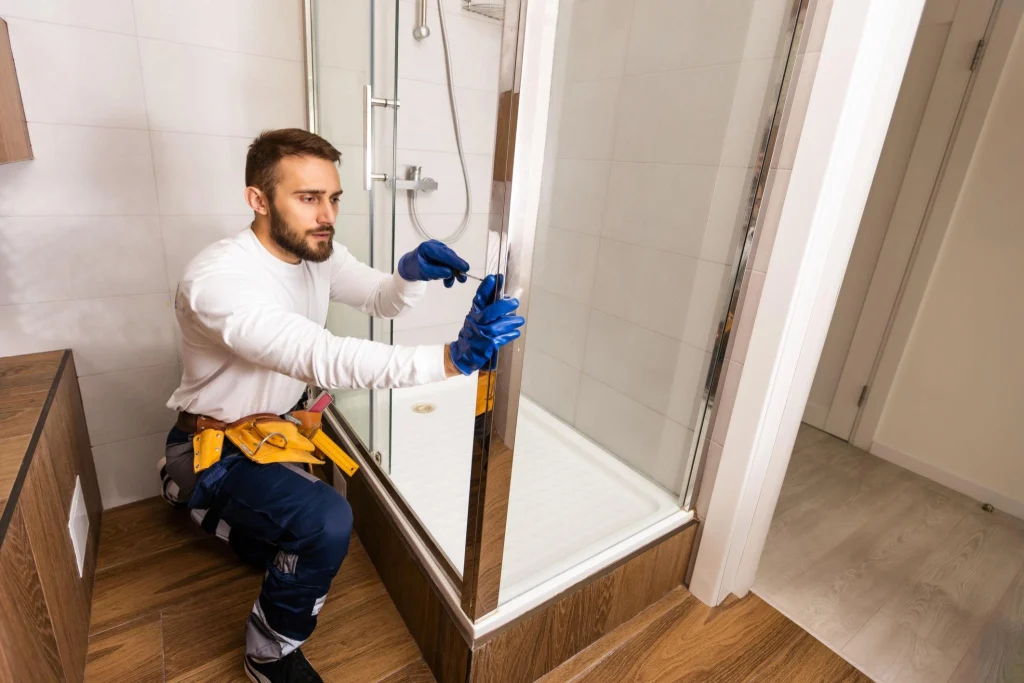
This is the stage where a second person is very helpful. Lift the glass carefully and avoid placing the edge directly on tiles or concrete. Use soft padding if you need to rest the panel temporarily.
Slide or place the glass into the channel or brackets as instructed. Do not force it. If it does not fit smoothly, stop and check alignment rather than pushing harder.
For anyone learning how to install a glass shower panel, this step is the most important from a safety point of view. Glass panels can be heavy and difficult to control. Wear gloves and keep children or pets away from the work area.
Step 6: Install Seals, Hinges, Handles, or Support Arms
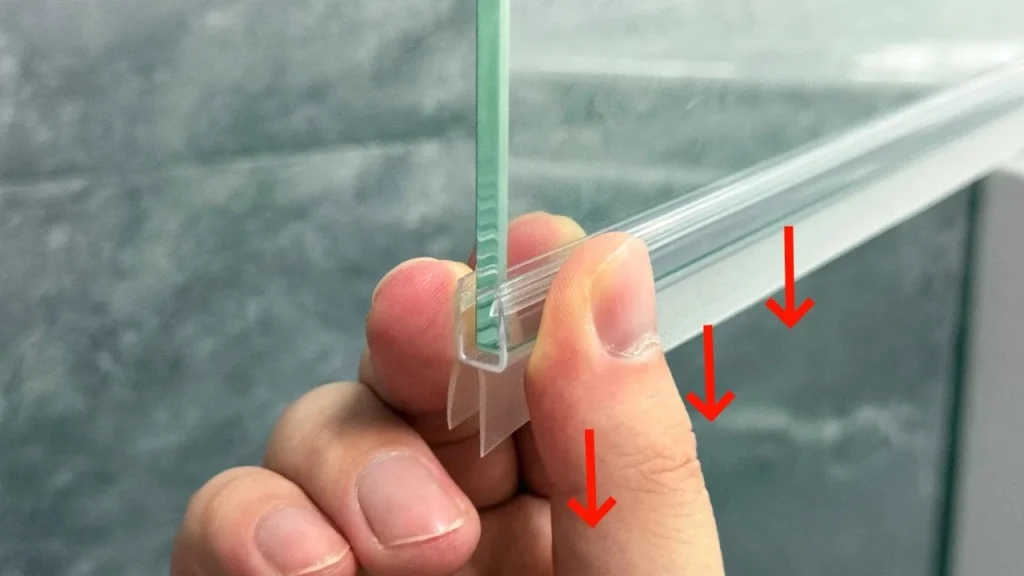
Once the glass is in position, fit the remaining parts. This may include vertical seals, bottom seals, door handles, hinges, magnetic strips, or stabilising bars.
Check that doors open and close smoothly. If the shower screen has a hinged door, make sure it does not scrape against the floor or hit nearby fixtures.
Step 7: Check Alignment Before Sealing
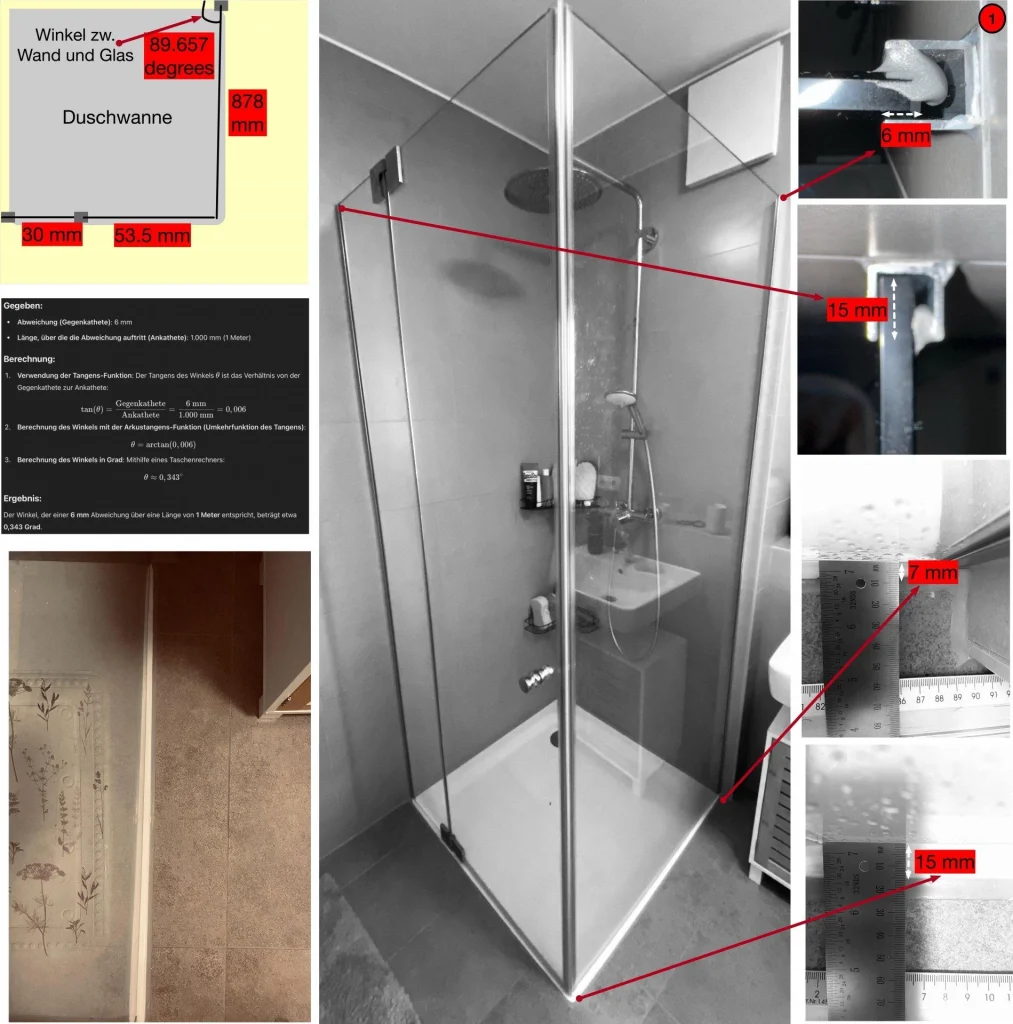
Before applying silicone, check the full installation again. Look at the vertical alignment, door gap, bottom gap, and wall contact points.
Open and close the door several times if your screen has one. Confirm that the screen feels stable. It is much easier to adjust before silicone is applied.
How to Fit a Shower Screen Without Leaks
Avoiding leaks is one of the main reasons people search for how to install a shower screen. The screen must guide water back into the shower area, not allow it to escape through side gaps, bottom gaps, or poorly sealed joints.
Use a bathroom-grade, mould-resistant silicone sealant. Apply it neatly where the manufacturer recommends. In many cases, silicone is applied on the outside edge of the frame or channel, not necessarily both inside and outside. This allows any trapped water to drain back into the shower rather than becoming sealed inside the frame.
Do not rush the curing time. Many silicone products need at least 24 hours before the shower can be used. Some may need longer depending on humidity and temperature. Using the shower too early can weaken the seal and cause leaks.
Installing on Tiles, Doors, and Waterproof Bathroom Walls
Most shower screens are installed onto tiled walls, but the structure behind the tile matters. Screws need to bite into a strong backing or suitable plug. A tile surface alone is not enough to support a heavy screen.
If you are installing near a shower door or over a hob, check clearances carefully. Doors need enough space to swing or slide properly. Handles should not hit vanities, towel rails, toilets, or windows.
Waterproof bathroom walls also need special care. You should never drill randomly into wet area walls without understanding what is behind them. Penetrating waterproofing incorrectly can create leak paths. If the bathroom is newly renovated, check with the builder or waterproofer before drilling.
How to Fit a Shower Screen Over a Window
Some Australian bathrooms have windows close to the shower area. This can make installation more complicated. If you need to know how to fit a shower screen over a window, the first thing to check is whether the window frame, sill, and surrounding wall are waterproof and suitable for wet area exposure.
A shower screen should not block window operation unless the layout has been designed for it. You also need to consider privacy, ventilation, and cleaning access. If the glass panel intersects with the window area, custom glass may be required.
In many cases, installing around a window is not a simple DIY job. The risk of leaks around the sill and frame is higher, especially if the window was not originally designed to sit inside a wet zone. A tradie or bathroom specialist can assess whether the area needs extra sealing, waterproofing, or a custom screen.
Common Mistakes to Avoid
One common mistake is measuring only once. Always measure multiple points because walls and floors are not always square. Another mistake is assuming the supplied fixings suit every wall type. Different homes may need different plugs or anchors.
A third mistake is applying too much silicone. Thick, messy silicone does not always mean better waterproofing. A clean, continuous bead is usually more effective than a bulky one. Poor silicone work can also collect mould and make the shower look unfinished.
Some DIY installers also forget to check door swing before drilling. This can lead to awkward layouts where the shower door hits a vanity, toilet, towel rail, or bathroom door.
The most serious mistake is handling heavy glass alone. Even if the panel looks manageable, it can shift suddenly. Always protect the edges and get help when lifting.
When Should You Call a Tradie?
DIY can be suitable for basic framed screens, replacement screens, or smaller bath screens. But there are situations where calling a professional is the better decision.
You should consider a tradie if:
- The glass panel is large, heavy, or frameless
- The bathroom walls are uneven
- The screen needs custom cutting or special hardware
- The shower is close to a window
- You are unsure about waterproofing
- You live in a rental or apartment
- You do not have experience drilling tiles
Professional installation may cost more upfront, but it can reduce the risk of leaks, cracked tiles, unstable glass, or warranty issues.
After Installation: Final Checks
Once the screen is installed and the silicone has cured, test the shower carefully. Run water against the screen and check outside edges, bottom seals, corners, and door gaps.
Do not blast water directly at weak points as an unrealistic test, but do check normal shower conditions. If you see water escaping, identify whether it is coming from a gap, a seal, the floor fall, or incorrect silicone placement.
Also check the screen after a few days of use. Sometimes small leaks only appear after repeated showering. Early detection helps prevent damage.
Maintenance Tips After Installation
Once you know how to install a shower screen, maintaining it properly will help it last longer. Wipe the glass regularly with a squeegee to reduce water spots and soap scum. You can also follow our guide on how to clean a shower glass screen for more detailed cleaning advice. Keep silicone lines clean and dry where possible.
Avoid harsh abrasive cleaners on glass, frames, hinges, and seals. They can damage protective coatings and scratch surfaces. For framed screens, clean around the tracks so water can drain properly.
Check silicone every few months. If it starts peeling, cracking, or growing mould underneath, it may need to be removed and replaced. Do not simply apply new silicone over dirty or failed silicone because it usually will not bond properly.
Conclusion
Understanding how to install a shower screen is not just about fixing glass to a wall. It is about measuring accurately, checking the bathroom surface, drilling safely, handling glass carefully, and sealing the screen in a way that prevents leaks.
If you are installing a simple framed screen and you have the right tools, DIY may be realistic. But if you are working with a heavy frameless panel, a window inside the shower area, uncertain waterproofing, or a custom layout, it is usually safer to call a professional. A shower screen should look clean and modern, but more importantly, it should be stable, safe, and watertight for everyday use.
Can I install a shower screen myself?
Yes, a shower screen can be installed as a DIY project if you have the right tools, accurate measurements, and basic installation skills. However, professional installation is recommended for frameless or custom glass screens.
How long does it take to install a shower screen?
A standard shower screen installation can typically take around 2–4 hours, depending on the type of screen, bathroom layout, and installation surface
What tools do I need to install a shower screen?
Common tools include a drill, level, measuring tape, screwdriver, suitable drill bits, wall plugs, silicone sealant, and safety equipment. The required tools may vary depending on the shower screen and wall material.
Should a shower screen be sealed with silicone?
Yes. Silicone sealant is generally applied around the appropriate joints and edges to help prevent water from getting behind the screen and causing moisture damage.